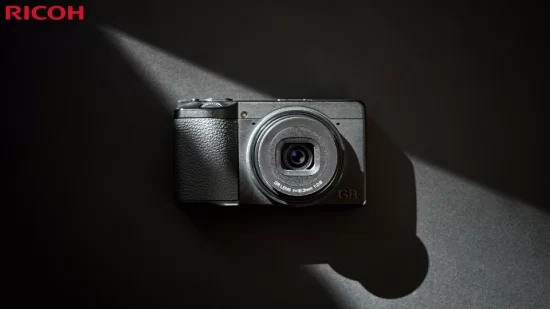
Here are some frequently asked questions and answers for the Ricoh GR IV Monochrome camera:
Basic specifications and functions
 Please tell me what to do first
 Answer: Please see below
-
- Check the included items by following the included start guide.
- Please read the instructions in the start guide and set up the rechargeable battery DB-120 and a commercially available microSD memory card.
Don’t worry, even if you don’t have a microSD card, you can still record images using the camera’s built-in memory (capacity approximately 53GB). - Charge the lithium-ion battery DB-120 using the method described in the Start Guide.
- Turn on the power and perform the initial setup
- If you use a commercially available microSD memory card, be sure to format it on the GR IV Monochrome before shooting.
- Perform a shooting test (press the shutter button) to check that the recording is normal.
- Please also refer to the GR IV Monochrome instruction manual for more detailed instructions, which can be accessed via the 2D barcode or URL on the cover of the Start Guide
- Follow the start guide or instruction manual to set up your GR IV Monochrome and enjoy shooting.
In order to provide you with the appropriate support and services for your GR IV Monochrome, we ask that you register as a customer.
Please note that we will send you support information such as firmware updates via email if you register. Click on “User Registration” on the page below to be redirected to the member registration page. https://www.ricoh-imaging.co.jp/japan/support/ - What is included in the box?
- Answer: The following items are included in the package:
-
- Camera body
- Hand Strap O-ST198
- USB cable I-USB198 (Type C⇔Type C)
- Rechargeable Battery DB-120
- Hot shoe cover (attached to camera) O-HC198
- Ring cap: GN-3 (MB) (attached to the camera)
- Getting started guide
- What items are sold separately?
- Answer: The following accessories are available separately:
- Battery /Rechargeable Battery DB-120,
Charger /Battery Charger BJ-12,
AC Adapter /AC Adapter Kit K-AC166J (AC Adapter + AC Cable) ,
External Viewfinder/External Viewfinder (GV-1) , External Mini Viewfinder (GV-2),
External Flash /External Flash GF-2,
Conversion Lens/Lens Adapter /Wide Conversion Lens (GW-4) , Lens Adapter (GA-3) ,
Case /Soft Case (GC-14), Soft Case (GC-12), Soft Case (GC-11), Metal Hot Shoe Cover GK-2 , Strap /Neck Strap GS-3 (GR Logo), Neck Strap ST-2 (RICOH Logo), Hand Strap GS-2 (GR Logo), Finger Strap GS-4 (GR Logo) ,
USB Cable /USB Cable I-USB198 (Type C to Type C),
Ring Cap GN-3 (DG) - What else do I need besides the included items when purchasing?
- Answer: No. The GR IV Monochrome has approximately 53GB of internal memory. If you want to store more images, please prepare a microSD memory card with a capacity that matches the number of frames you will be taking.
- What is the difference between GR IV/GR IV HDF?
- Answer It features a newly developed monochrome-specific sensor, monochrome-specific image processing, monochrome-specific lens unit
, and monochrome-specific image control . ISO sensitivity can be set from 160 to 409600. The GR IV is equipped with an ND filter, and the GR IV HDF is equipped with a Highlight Diffusion Filter, but the GR IV Monochrome is equipped with a red filter. The power button lamp and status lamp are green on the GR IV and GR IV HDF, but white on the GR IV Monochrome. The AF assist lamp/self-timer lamp are warm-toned instead of green. When the power is off, the screen will be the one exclusive to the Monochrome model.
- What type of battery can I use?
- Answer: The only battery that can be used is the DB-120 rechargeable battery. The DB-110 for the GR III series, the DB-65 for the GR, GR II, and GR DIGITAL series, and other dry batteries cannot be used.
- What type of memory card can be used?
- Answer: The size and shape are those of a microSD card. microSD memory cards, microSDHC memory cards, and microSDXC memory cards can be used. It is compatible with the UHS-I standard for microSDHC and microSDXC memory cards. The maximum transfer speed of the UHS-I standard is 104MB/s. The following memory cards have been confirmed to work:
- KIOXIA (Toshiba) and SanDisk
microSDHC memory cards: up to 32GB; microSDXC memory cards: up to 1TB.- When shooting video, we recommend using a high-speed memory card with a speed class of Class 6 or higher.
- The camera has approximately 53 GB of built-in memory.
As of February 2026
- “Operation check” means that we check the operation and provide convenience to our customers, but we do not provide any guarantees to customers.
- Is there anything I need to do first before using a microSD memory card?
- If you are using a new memory card or a memory card that has been used on another device, such as a computer, be sure to save the data on the card to a computer or other device and then format it in the camera before use. Please note that formatting will erase all data on the card.
- Does it support UHS Speed Class?
- Answer: Yes, it is compatible with the UHS-I standard (microSDHC, microSDXC memory cards). The maximum transfer speed of the UHS-I standard is 104MB/s.
Shooting function related
- Please tell me about the image control function of the GR IV Monochrome.
- Answer: You can select the image finish to capture distinctive images. You can also fine-tune contrast, grain, and other settings. To set it , go to “Still Image Settings” in the MENU, select “Image Control” under “Image Tone Settings,” and press the direct key (right). When you select Image Control on the above screen, pressing the Fn button allows you to adjust settings for “Key,” “Contrast,” “Sharpness,” “Tone,” “Shading,” “Clarity,” and “Grain.”
-
Standard This is a basic black and white mode with excellent gradation reproduction and a good balance between light and dark. solid This black and white mode offers a modern look with clear contours and high contrast. soft A black and white mode that softens the subject’s outline and gently reduces contrast. *Cannot be selected in video mode. High contrast This black and white mode creates a powerful and striking effect with its striking contrast between black and white. Grainy This is a black and white mode that emphasizes the graininess of a black and white print. This mode
cannot be selected in video mode.HDR look This black and white mode emphasizes shadows to create a dramatic effect.
It cannot be selected in video mode.Custom 1
Custom 2
Custom 3You can register three different parameter settings. - In video mode, “Soft,” “Grainy,” and “HDR” cannot be selected.
- Image control is not reflected in RAW image data.
- You can register it in “ADJ mode setting” or “Fn button setting” under “2: Operation customization” in the customization settings.
- The names of Custom 1 to 3 can be changed using the RICOH GR series dedicated app “GR WORLD.”
- What image controls are available in video mode?
- A: “Standard,” “Solid,” “High Contrast,” and Custom 1 to 3. “Soft,” “Grainy,” and “HDR” cannot be selected.
- What are the effects (characteristics) of the red filter?
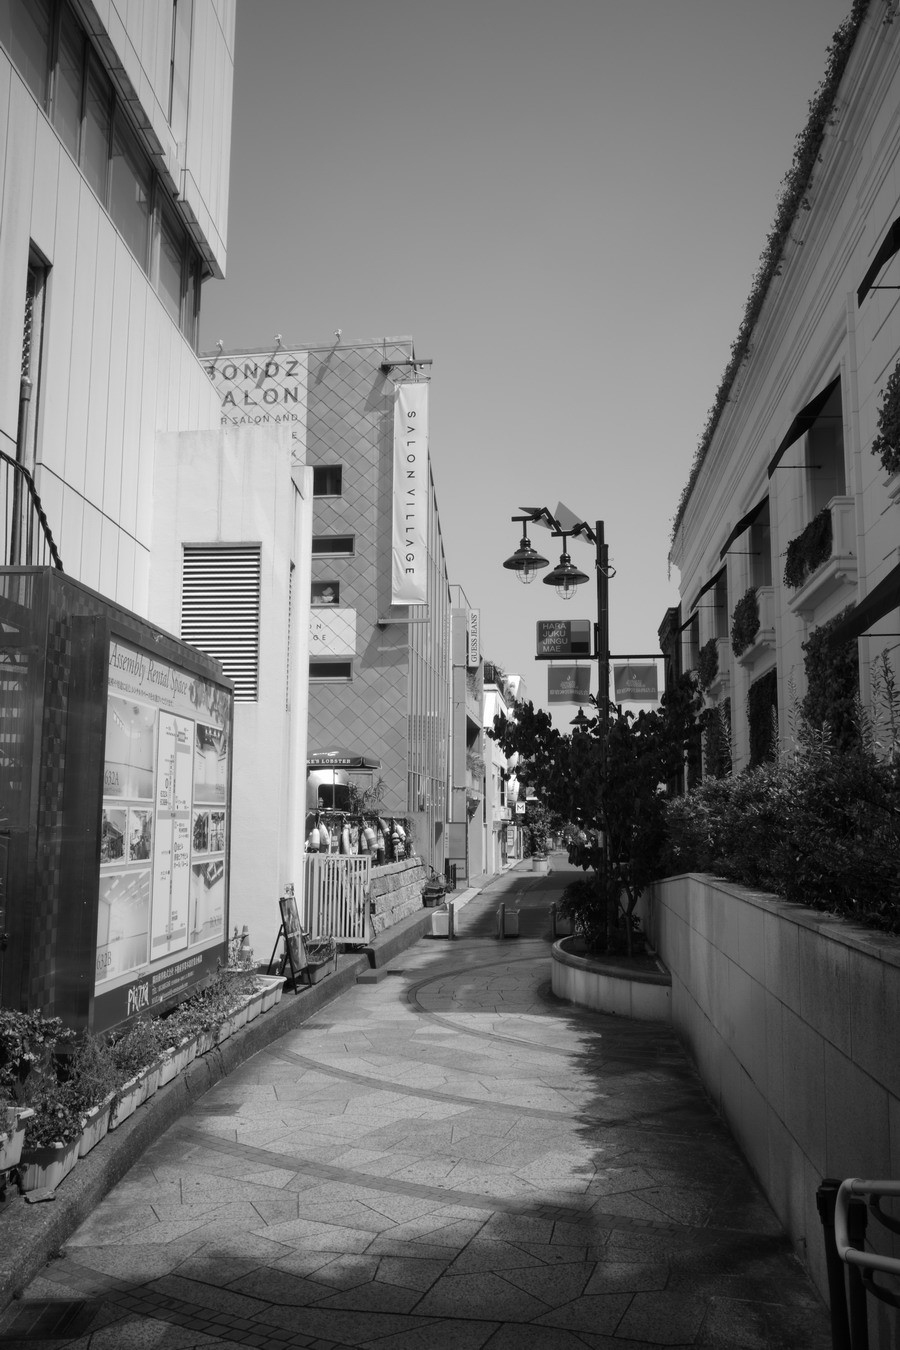
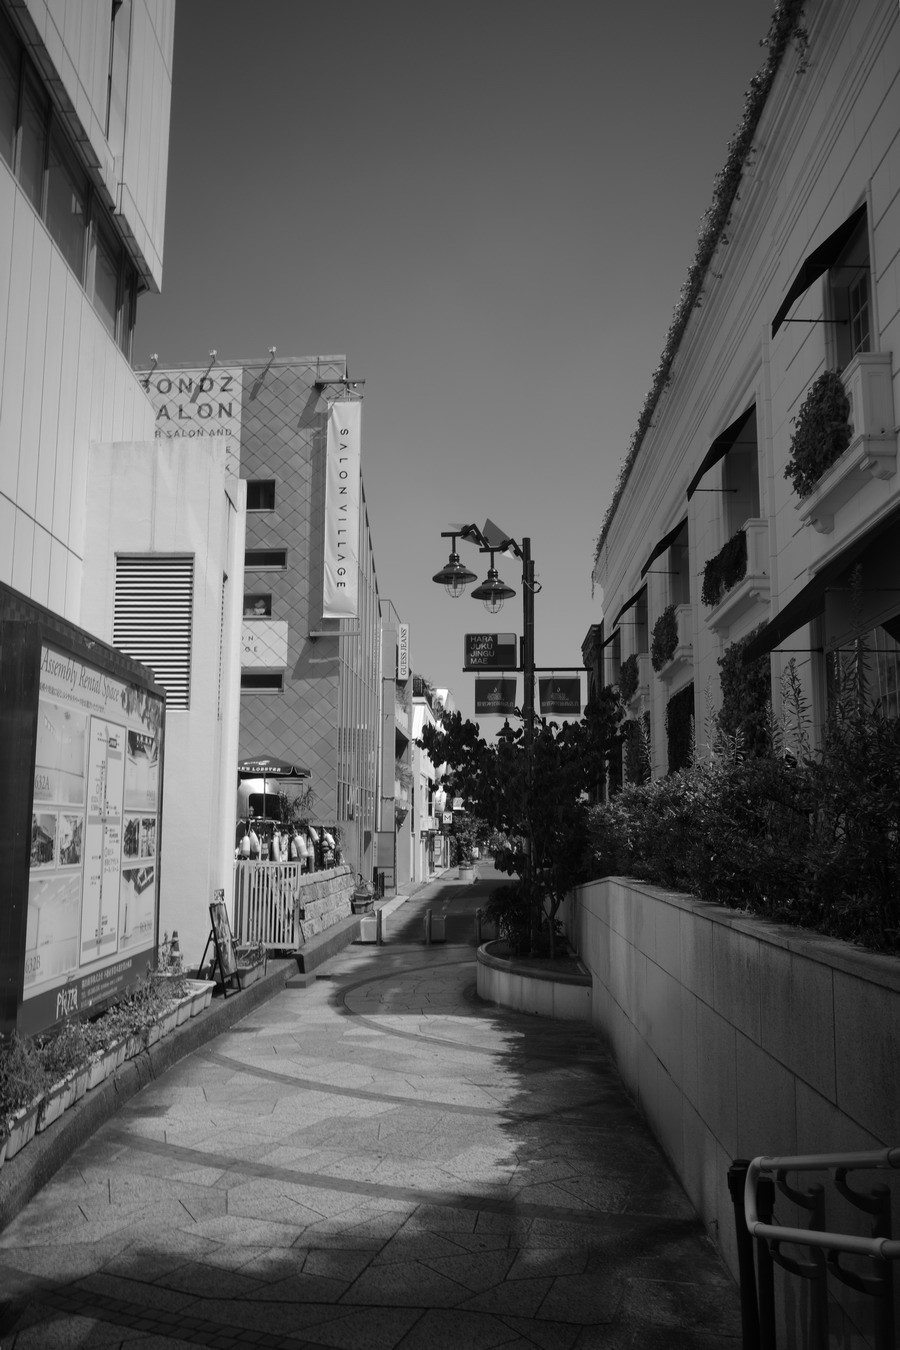
- Answer: This filter has the effect of increasing contrast. It can create striking photos by lowering the tone of the blue sky to emphasize the contrast with the clouds , or by brightening red subjects to highlight their presence . Comparison example (red filter off) Comparison example (red filter on)
- There is no “ND filter” option in the exposure settings of the still image settings menu.
- Answer: The GR IV has a red filter installed in the mechanism that houses the ND filter. Instead of the [ND Filter] option in the exposure settings, there is a [Red Filter] option in the shooting settings.
- Where can I set the “red filter”?
- Answer: You can set this in the Still Image Settings menu under “Shooting Settings” under the “Red Filter” item. The default setting at the time of purchase is “Red Filter” for the “Fn Button.”
- Can I take photos with flash?
- By attaching the optional external flash “GF-2,” you can take pictures with automatic flash control.
- Tell me about the electronic shutter.
- Answer The camera uses an electronic shutter that allows you to select a faster shutter speed. You can set the shutter speed up to 1/16000 second while keeping the aperture at f/2.8. At f/2.8, the maximum speed for a mechanical lens shutter is 1/2500 second. This expands the range of exposure value combinations, allowing you to capture accurate exposure even in bright environments, such as a midsummer beach, by using the high-speed electronic shutter even at the widest aperture.
- What is the shutter speed at which the electronic shutter switches to the lens shutter?
- Answer: When the aperture value is between f/2.8 and f/4.0, the leaf shutter setting range is 1/2500 seconds or slower, and the electronic shutter is used for shutter speeds between 1/3200 seconds and 1/16000 seconds. When the aperture value is between f/4.5 and f/5.0, the leaf shutter setting range is 1/3200 seconds or slower, and the electronic shutter is used for shutter speeds between 1/4000 seconds and 1/16000 seconds. When the aperture value is between f/5.6 and f/16, the leaf shutter setting range is 1/4000 seconds or slower, and the electronic shutter is used for shutter speeds between 1/5000 seconds and 1/16000 seconds.
- What should I be careful about when using the electronic shutter?
- When using the electronic shutter, subjects such as fast-moving trains, cars, or sports may appear tilted or distorted.
-
- Cannot be used in conjunction with flash (GF-2).
- Shake Reduction and Low Pass Selector are turned off.
- Can the electronic shutter be turned on or off?
- Answer: In the menu item [Electronic Shutter], you can select “Use only at high speeds” or “Do not use.”
Playback function related
- What are the specifications of the playback function?
- The main specifications of the answer playback function are as follows:
-
How to play Single image, multi-screen display (20, 48 screens), magnified display (up to 16x, 1x display possible, quick magnification possible), histogram display (Y histogram), grid display (9-split, 16-split), overexposure warning, auto-rotate images, folder display, display by shooting date JPEG image quality adjustment Adjustment items: Brightness, Tone, Contrast, Sharpness RAW development RAW image selection: Select one image / Select multiple images / Select folder / Select shooting date
RAW development parameters: JPEG recording size, aspect ratio, color space, image control, peripheral illumination correction, sensitivity increase/decrease, high ISO noise reduction, shadow correctionEditing features Erase, protect, rotate, copy, transfer, resize, crop (aspect ratio change possible, tilt correction possible), level correction, video clipping, video division, video frame image JPEG saving - What settings are available in the playback settings menu?
- Answer: The following settings are available in the menu:
- 1. Playback Settings
Playback memory selection Select either the built-in memory (53GB capacity) or a memory card. Auto-rotate images Can be selected as on or off Play order settings Select either the file number or the shooting date and time. Playback volume Select from 21 levels from 0 to 20 2. File Operations
erase Delete 1 image, Delete multiple images, Delete all images Protect Protect 1 image, Protect multiple images, Protect all images rotate Right 90°, 180°, Left 90° copy Copy all images recorded in the built-in memory to an SD memory card transfer Single image transfer, multiple image transfer 3. Image editing
RAW development Specify the settings for JPE recording size, aspect ratio, color space, image control, peripheral illumination correction, sensitivity, high ISO noise reduction, and shadow correction, and save as a new JPEG image. resize Reduce the size of a JPEG image. trimming Cut out a part of the JPEG image and save it. Level Correction Specify highlights, midtones, and shadows in a JPEG image to correct brightness and contrast. JPEG image quality adjustment Adjust brightness, toning, contrast and sharpness of JPEG images. Video editing When cutting a video, you can specify a start and end point, cut out that range, and save it as a new file. When splitting a video, you can specify a split point, and save two videos split before and after that point as new files. - Can data taken with the GR IV and GR IV HDF be played back on the GR IV Monochrome?
- Answer: Yes, it is. Images will be displayed in the colors they were in when they were taken. File operations in the playback settings (delete/protect/rotate/copy/transfer) are possible, but image editing such as RAW development is not possible.
- Please tell me about the RAW development function.
- Answer: You can change the parameters of the RAW image you have taken, convert it to JPEG format, and save it as a new file. Select “RAW Development” under 3: Image Editing in the Playback Settings menu, and save it in JPEG format. Press the direct key (right) on the screen above to display the “Parameter Selection Screen” below. The parameters that can be set are as follows: “JPEG Recording Size,” “Aspect Ratio,” “Color Space,” “Image Control,” “Peripheral Illumination Correction,” “Sensitivity,” “High ISO Noise Reduction,” and “Shadow Correction.”
-
- Note: The settings for RAW photography are initially selected and displayed.
- Only settings that can be changed are available for selection.
[Example of changing parameter items and advanced image control settings]
In the screen above (JPEG recording size 6192×4128: L), pressing the direct key (upper) and (lower) to select the image control parameter (Standard in the image) is shown in the screen below. When the direct key (right) is pressed in the screen above, the “Image Control Selection Screen” below is displayed. When the direct key (upper) and (lower) is pressed in the screen above to select “Grainy,” the screen below is displayed. When the “Fn button” is pressed in the screen above, the “Advanced Settings Screen” below is displayed.- On the advanced settings screen, use the direct keys (upper and lower) to select the item for which you want to change the advanced settings.
- You can change the detailed settings of “Key,” “Contrast,” “Sharpness,” “Tone,” “Shading,” and “Grain” using the direct keys (left and right).
Only the settings that can be changed can be changed.
Depending on the type of image control, there are some items that cannot be changed. - After setting each item, press the “OK button” to return to the parameter selection screen.
- Once all the settings are complete, press the OK button, select the location to save the image, and confirm, and a new JPEG image will be saved.
- Then choose to continue or quit.
For items not listed below, please refer to the GR IV FAQ.